Web Design Project Management: A Step-By-Step Guide

Web design project management keeps your team focused, organized, and on track—especially when deadlines are tight and expectations are high. For high-growth and enterprise companies, it’s a key part of delivering projects on time, within budget, and at a high level of quality. Without a clear process, miscommunications, scope creep, and missed deadlines can derail even the best teams.
The right approach to project management gives everyone a clear understanding of their roles, timelines, and responsibilities from start to finish.
In brief:
- Web design project management helps teams follow deadlines and stay within budget.
- Selecting the appropriate project management methodology aligns your project structure with your specific needs.
- Defining clear roles, choosing the right tools, and organizing documentation will make your team more collaborative and efficient.
Our step-by-step guide shares everything your team should know about headless cms architecture and the best practices to set your next website up for success.
What is Web Design Project Management?
Web design project management involves organizing, coordinating, and delivering web projects on time and within budget. It blends technical and creative tasks, bringing together design, development, and client needs in one cohesive approach. The person in charge of this project handles scoping, budgeting, and scheduling with the goal of meeting both client and user requirements.
Project managers usually focus on:
- Scope Definition: Agreeing on features and functionality to avoid endless changes.
- Budgeting: Calculating funds for design, development, testing, and deployment to keep finances on track.
- Timeline Creation: Setting milestones and deadlines to keep momentum going.
- Team Collaboration: Aligning designers, developers, and stakeholders for smoother workflows.
How to Choose the Right Methodology for Web Design Project Management
Picking a project management methodology sets the tone and structure for your web build. Each approach has its own strengths and weaknesses, so it's smart to match the method to your project's unique needs.
Agile Methodology
Agile is known for its flexibility and short development cycles. Work is broken into sprints, allowing teams to refine the product as feedback rolls in.
Pros:
- Quickly adapts to changing requirements.
- Ongoing client input refines each iteration.
- Promotes strong collaboration and transparency.
Cons:
- Goals need to be clear to avoid scope creep.
- Requires consistent stakeholder involvement.
- Resource-intensive due to iterative testing.
Agile fits projects that evolve over time, like platforms needing regular user feedback.
Kanban
Kanban visualizes tasks as cards on a board, showing each stage from "To Do" to "Done." This approach reduces bottlenecks and offers a clear view of progress. Trello is a popular tool using the Kanban style.
Pros:
- Easy to track and update tasks.
- Minimizes workflow congestion.
- Flexible for ongoing changes.
Cons:
- Lacks built-in deadlines, which can slow things down.
- Less structured if you need firm timelines.
Waterfall Method
Waterfall moves sequentially: each phase finishes before the next one starts. It's useful for projects with fixed requirements and minimal changes in scope.
Pros:
- Predictable timeline and budget.
- Clear milestones simplify tracking progress.
Cons:
- Hard to change plans once the project is underway.
- Can be slow if requirements change rapidly.
Scrum Framework
Scrum, a part of Agile, breaks work into sprints (usually one to four weeks). Teams review each sprint, gather feedback, and plan the next step. It's great for incremental builds with shifting requirements.
Pros:
- Frequent reviews keep the project aligned with user needs.
- Encourages tight communication with daily standups.
Cons:
- Demands significant team commitment.
- Relies on consistent transparency and collaboration.
Critical Path Method
Critical Path Method (CPM) highlights tasks that can't afford delays. By pinpointing critical tasks, you can prioritize resources to keep the entire project on schedule.
Pros:
- Shows instantly which activities are most time-sensitive.
- Helps optimize resource allocation.
Cons:
- Changing course is tough once the path is set.
- Multiple dependencies can make planning complex.
Teams with firm launch dates use CPM to stay on target and avoid deadline chaos.
Our step-by-step guide shares everything your team should know about headless cms architecture and the best practices to set your next website up for success.
How to Set Up a Web Design Project Management Environment
A project management environment needs clear roles, the right tools, and structured documentation.
Essential Team Roles
Assign responsibilities early so each person knows what they own and how their work fits into the bigger picture. Common roles include:
- Project Manager: Defines scope, sets milestones, and manages resources while keeping in touch with clients.
- Technical Lead: Oversees code quality and architecture, tackling complex development challenges.
- Designers (UI/UX): Bring client requirements to life with engaging visuals and user-friendly interfaces.
- Content Strategist: Aligns text, graphics, and multimedia with project goals, optimizing for SEO.
- QA Specialist: Verifies that everything meets quality standards before launch.
Best Tools for Managing Web Design Projects
Choosing the right tools allows for better collaboration and makes it easier to track tasks:
- Trello: Uses Kanban boards for simple, visual task management.
- Asana: Handles complex task dependencies and timelines.
- Jira: Ideal for Agile teams needing advanced bug and task tracking.
- Slack: Streamlines communication with real-time messaging.
- Microsoft Project: Offers advanced scheduling and resource planning for large projects.
- ProofHub: Combines collaboration, timelines, and time tracking.
Structuring Project Documentation & Timelines
Organize documentation in a way that guides your team through every phase of the project. It keeps expectations clear and prevents misunderstandings:
- Scope and objectives: Outline the project goals, deliverables, and timeline. Share this document with everyone involved.
- SMART goals: Break down project tasks using Specific, Measurable, Achievable, Relevant, and Time-bound objectives. This helps track progress and measure success.
- Milestones and dependencies: Use a Gantt chart or a shared project calendar to show major deadlines and task dependencies. This helps the team see how their work connects.
Phased Approach to Web Design Project Management
Breaking a web design project into phases brings clarity to each step. Whether you're starting from scratch or looking to redesign a website on a budget, this approach helps your team track progress, meet deadlines, and tackle problems before they grow.
Phase 1: Planning & Strategy
Research market trends, identify your target audience, and set clear goals. Map the site's structure with sitemaps and wireframes. Hold strategy sessions with stakeholders to finalize scope, budget, and timelines.
During these discussions, ask stakeholders questions such as:
- What are the main objectives of the website? (e.g., increase sales, improve brand awareness, provide information)
- Who is the target audience?
- What are the key features and functionalities required?
- Are there any specific design preferences or brand guidelines to follow?
- What is the preferred timeline and budget?
- How will the website be maintained post-launch?
- What are the expectations for user engagement and conversions?
- What are the metrics for success, and how will they be measured?
- Are there any legal or compliance requirements to consider?
- How will feedback and approvals be managed throughout the project?
Phase 2: Design & Development
This phase brings the vision to life. Start by turning your wireframes into high-fidelity design mockups. Share these prototypes with stakeholders to gather feedback and make adjustments before moving forward. Focus on usability and user experience, so the design feels intuitive across all devices.
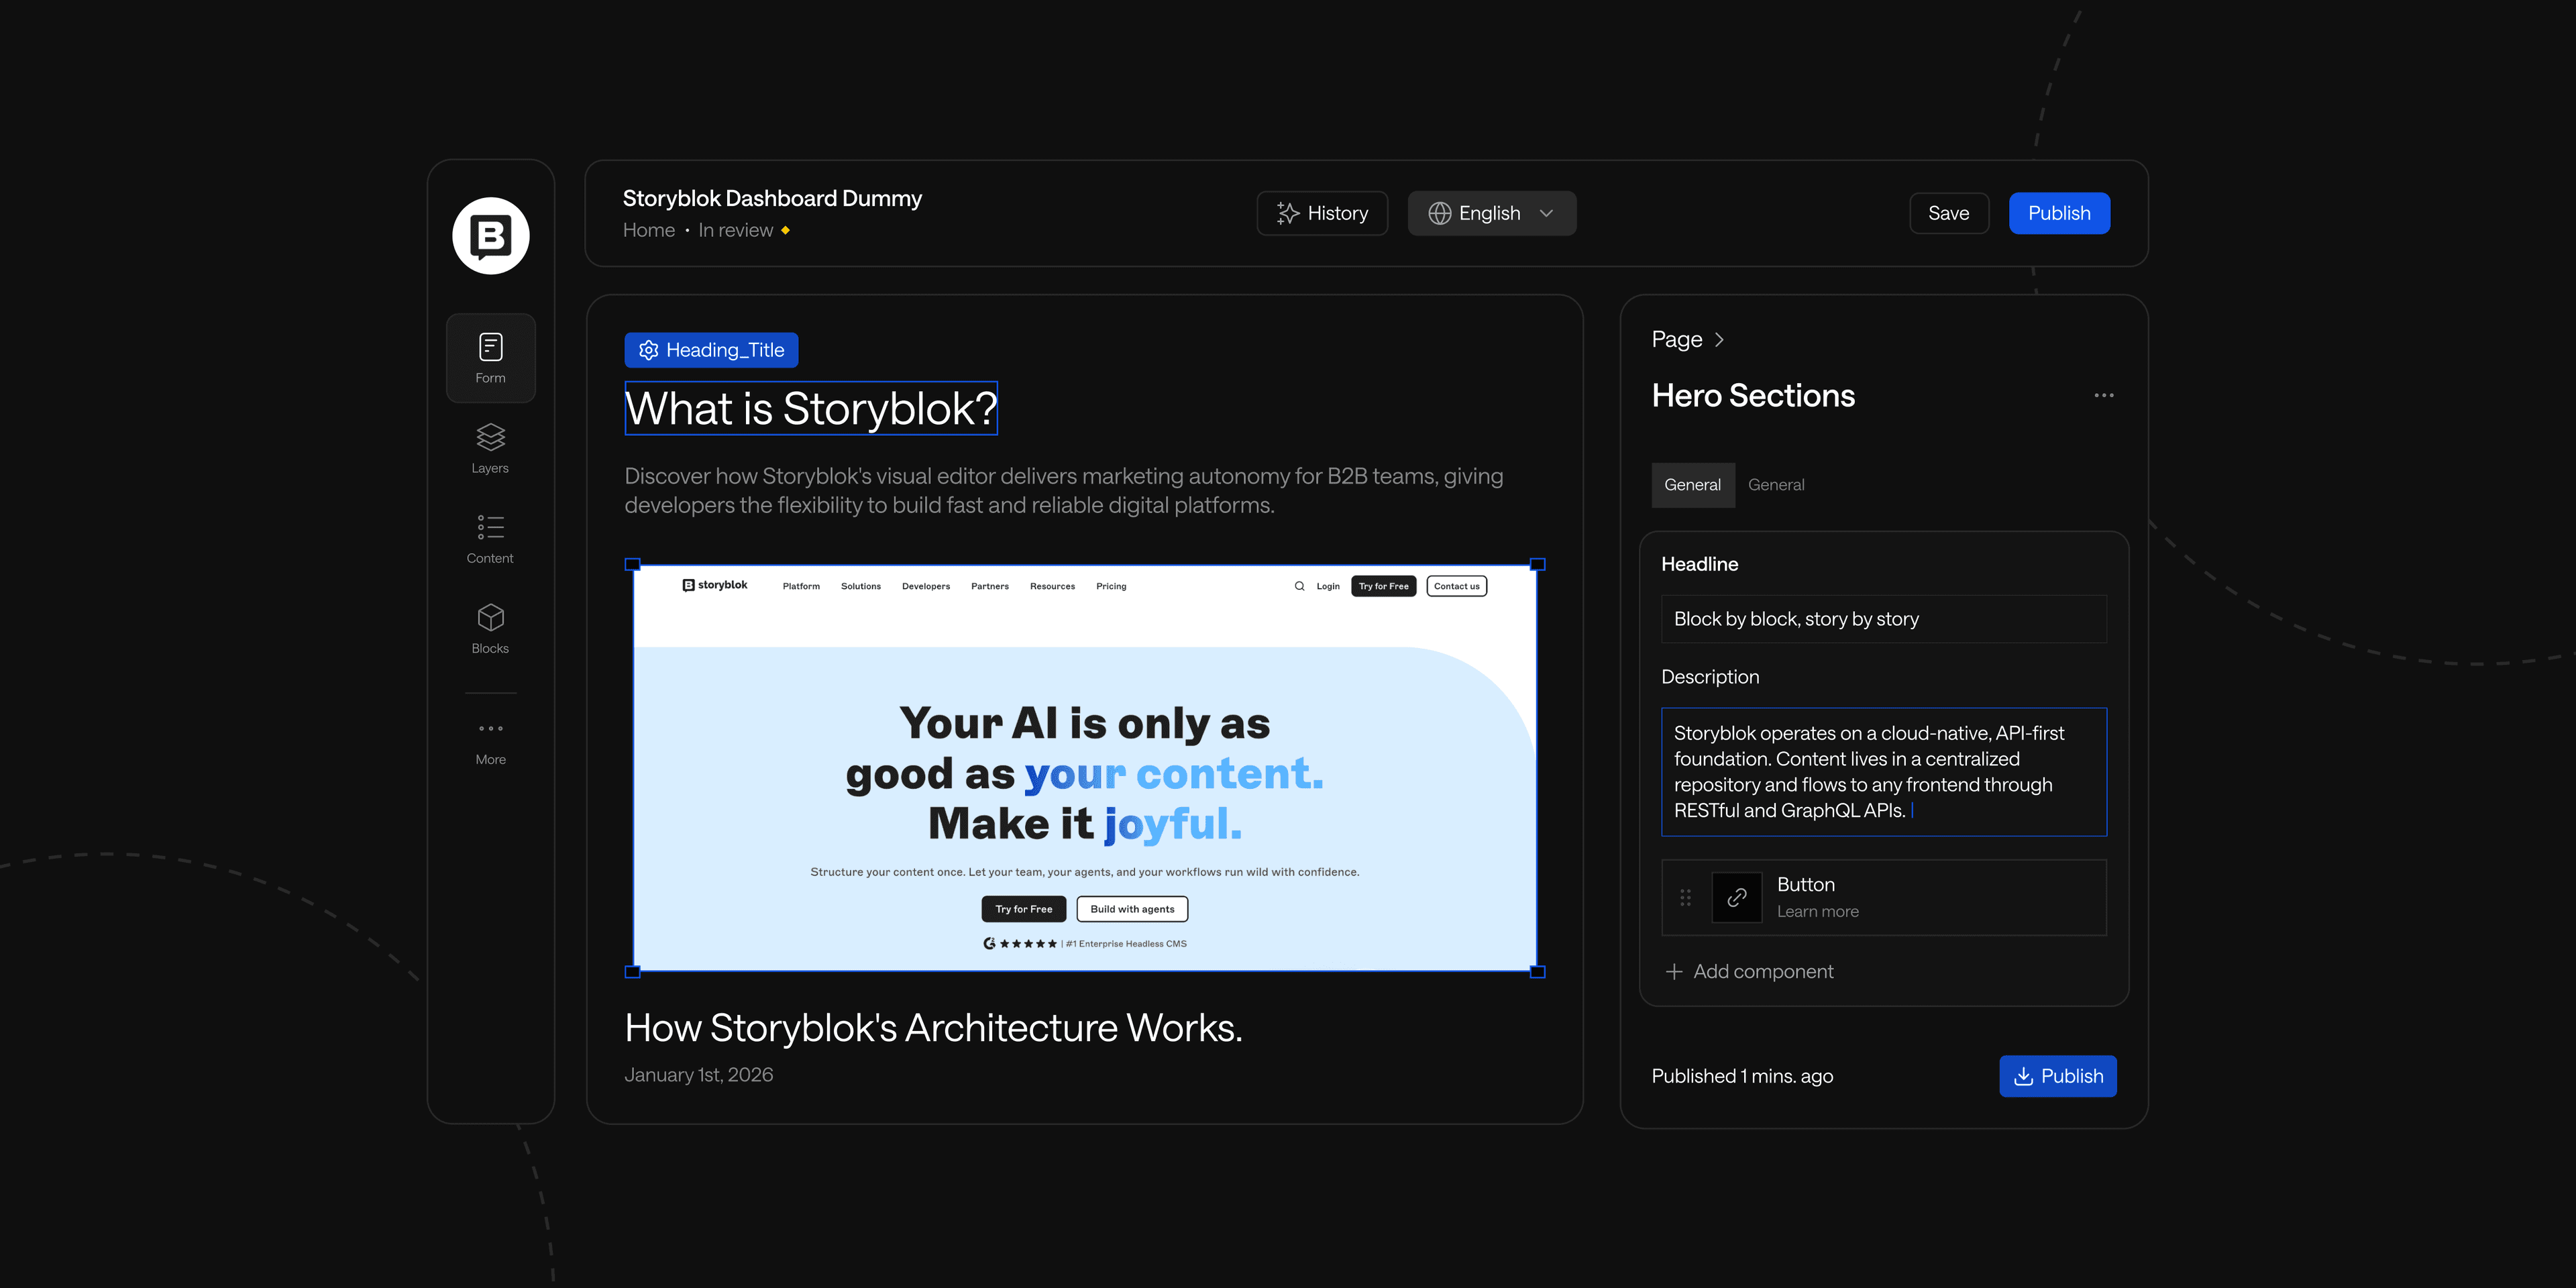
Once designs are approved, hand them over to development. Build the site with clean, efficient code and a mobile-first approach. Create a responsive layout that looks great on desktops, tablets, and smartphones. Set up a CMS, like WordPress or a headless CMS, to make it easy for non-developers to update content later.
Collaboration between designers and developers needs to be constant during this phase. Conduct regular design reviews to ensure the live version matches the approved mockups. Test features like contact forms, search functions, and interactive elements as they’re built to catch issues early.
Phase 3: Testing & Optimization
With the site built, it’s time to test everything thoroughly. Use functionality testing to make sure every button, form, and link works correctly. Run cross-browser tests on platforms like Chrome, Firefox, Safari, and Edge to check that the experience is consistent for all users.
Next, focus on page speed and performance. Compress images, enable caching, and test loading times using tools like Google PageSpeed Insights or GTmetrix. Faster sites reduce bounce rates and improve search rankings.
Don’t forget about SEO optimization. Check that title tags, meta descriptions, and alt text are in place. Submit the site to Google Search Console to monitor indexing and resolve any issues.
Before going live, test accessibility using tools like WAVE or axe to verify your site is usable for people with disabilities. Look for issues such as poor color contrast or missing alt text.
Phase 4: Final Review & Approval
With testing complete, present the near-final version of the site to stakeholders. Walk them through every page and feature, explaining how their feedback from previous phases has been incorporated.
Gather any final adjustments, focusing on polish rather than major changes. Verify that everything aligns with the project's goals, from design and functionality to SEO and accessibility. Confirm that legal requirements, such as GDPR compliance and privacy policies, are in place.
Once stakeholders approve the final version, prepare for launch. This includes:
- Setting up 301 redirects for old pages to maintain SEO value.
- Double-checking all analytics tracking is active.
- Reviewing backup systems to ensure quick recovery from any issues.
Phase 5: Launch & Post-Launch Analysis
Launch day is exciting, but it’s also just the beginning. Monitor the site closely as it goes live to catch any unexpected issues, such as broken links or slow-loading pages.
In the days and weeks following launch, analyze key performance metrics using tools like Google Analytics and Hotjar. Pay attention to:
- Traffic sources: Where are visitors coming from?
- Bounce rates: Are people leaving too quickly?
- Conversions: Are users completing key actions like purchases or form submissions?
Use feedback from users and stakeholders to identify areas for improvement. Collect real-world input through surveys or feedback forms. If possible, run A/B tests to see which versions of pages perform better.
Schedule a post-launch review with your team. Discuss what worked well, what didn’t, and how to apply those lessons to future projects. Keep refining the site based on real-world performance data.
Common Issues in Web Design Project Management and How to Avoid Them
Web design projects can easily go off track without proper planning and clear boundaries. From unrealistic timelines to overlooked testing, these common pitfalls can derail progress and lead to costly mistakes. Here’s what to watch out for and how to avoid them:
- Unrealistic deadlines and poor resource allocation: Overloaded schedules lead to rushed work, burnout, and missed details. This often happens when deadlines are set without understanding how long tasks actually take. Break down the project into smaller tasks and estimate timelines based on real experience. Build in buffer time for unexpected issues so the team isn’t scrambling at the last minute.
- Scope creep without proper management: Constant new requests from stakeholders can stretch timelines and budgets beyond control. Without clear boundaries, small additions quickly pile up into major delays. Prevent this by defining a detailed scope statement at the start. If new requests arise, review their impact on resources and deadlines before agreeing to changes.
- Overlooking user experience and accessibility: Focusing too much on features and design without considering usability or accessibility can frustrate users and limit your audience. Make UX a priority from day one by involving designers, developers, and real users in testing.
- Inadequate testing and quality assurance: Rushing through testing or skipping it entirely leads to bugs, broken pages, and a poor user experience after launch. A strong QA process should be part of every phase of the project. Use automated tools to catch technical issues and run user acceptance tests to ensure everything works as intended.
Bringing Your Web Design Projects to the Finish Line
Great web design project management is about more than deadlines and deliverables. It’s about keeping clients, designers, developers, and stakeholders on the same page from start to finish.
Strong project management practices also set your team up for bigger transitions, like adopting new tools and technologies. If you’re planning to move from a traditional CMS to a headless CMS, having a clear process will help you make that shift without disruption.
To help you get started, we’ve created the headless CMS implementation checklist—a step-by-step resource that guides you through the transition. It covers everything from planning to launch, so your team can move forward with confidence.
Download the checklist and join other B2B leaders who are building faster, smarter websites with headless technology.
Our step-by-step guide shares everything your team should know about headless cms architecture and the best practices to set your next website up for success.

I lead growth at Webstacks, connecting strategy, design, and engineering to build websites that drive results. I specialize in website strategy, CMS implementation, and helping B2B teams scale their web presence.