Website Launch Checklist: Pre-Launch Guide
Launching a website takes preparation. Without a clear checklist, it's easy to miss important details that can affect performance, SEO, or the user experience. Slow-loading pages, broken links, or missing mobile optimization can frustrate visitors and damage your brand's credibility.
A website launch checklist helps you catch issues early. It keeps your team focused on key tasks like testing functionality, optimizing for search engines, and ensuring everything looks great on every device. When designers, developers, and marketers work from the same playbook, decisions happen faster, deadlines are met, and nothing slips through the cracks.
With the right preparation, you'll launch a polished, fully functional website that meets your goals and earns your audience's trust.
In brief:
- A website launch checklist helps prevent technical glitches and SEO issues.
- Ongoing post-launch checks and optimizations ensure your site performs well, stays secure, and engages users.
- Focusing on data privacy, legal compliance, and accessibility strengthens user trust and protects your brand.
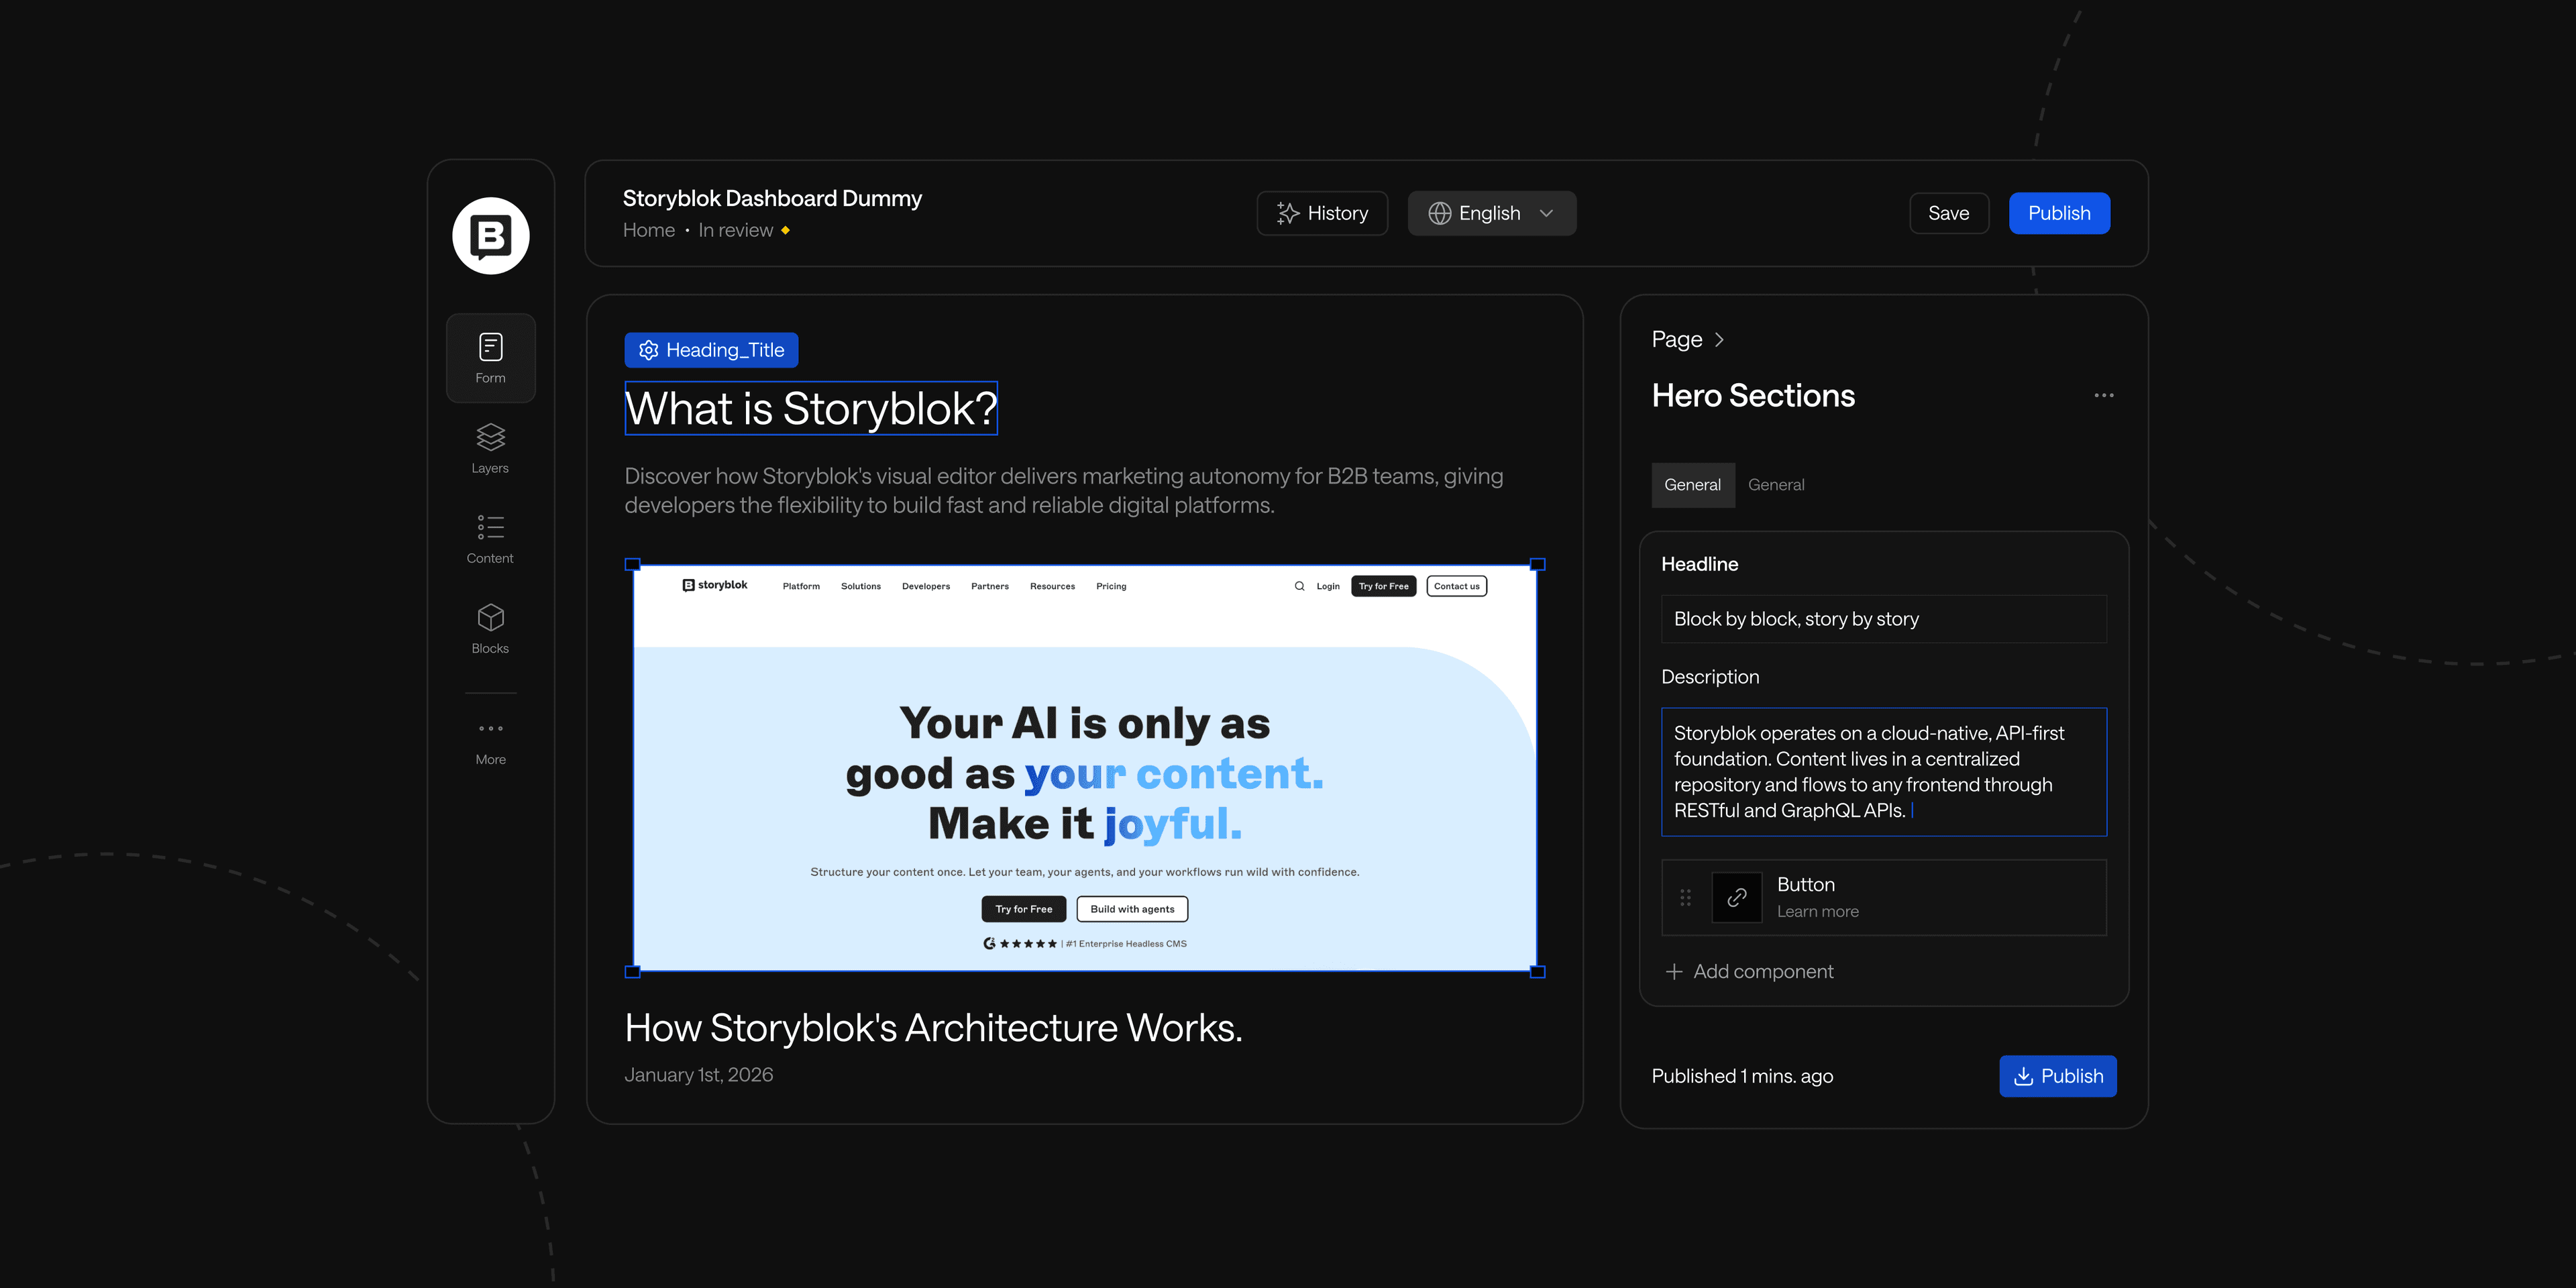
Our step-by-step guide shares everything your team should know about headless cms architecture and the best practices to set your next website up for success.
Website Launch Checklist: Preparing for a Seamless Deployment
Careful planning will help your website launch smoothly instead of making a messy debut. This website launch checklist tackles tech setup, SEO prep, user experience testing, and more.
1. Technical Setup & Hosting Readiness
Your hosting setup should be reliable, fast, and ready to handle your expected traffic—especially if you're planning a big marketing push. Before going live, double-check that your server settings match your website's technical needs. For example, if you're running a resource-heavy CMS or using dynamic content, make sure your server can handle it without slowing down.
Set up a staging server for final testing. Think of it as your website's dress rehearsal—a place to catch bugs, test updates, and review everything one last time before the public sees it. Run through the entire site on staging, checking everything from page load times to third-party integrations.
Backups are your safety net, so don't skip them. Put an automated backup system in place that runs daily and stores versions of your site both on and off the server. This way, if anything goes wrong during the launch, you can quickly restore your site without losing important data.
2. Domain & SSL Certificate Configuration
Your domain settings need to be ready before your site goes live. Start by checking your DNS (Domain Name System) records—they tell the internet where to find your website. Make sure your A record points to the correct server IP address and that your CNAME records are in place for subdomains or third-party services like email or CDNs. DNS changes can take time to update, so set them up early to avoid delays on launch day.
Next, secure your site with an SSL certificate. It's more than just a security measure—it's a trust signal for your visitors and a ranking factor for search engines. Confirm that your SSL certificate is installed correctly and covers all versions of your domain (with and without "www"). If your site uses subdomains, consider a wildcard SSL to cover them all.
After installation, test your SSL setup. Tools like SSL Labs' SSL Test can verify that your certificate is valid and configured properly. Make sure all traffic redirects to the secure https:// version of your site, and update any hard-coded internal links from http to https to avoid mixed content errors.
Finally, double-check your domain's expiration date and set up auto-renewal. A sudden domain lapse can take your site offline—so it's one less thing to worry about when it's automated.
3. Mobile Responsiveness & Cross-Browser Testing
Mobile devices account for roughly 60% of global web traffic, so your site needs to look and work well at any screen size. Test it across major browsers like Chrome, Firefox, and Safari to ensure it displays and functions consistently on mobile.
Use tools like BrowserStack or Lambdatest to check how your site performs across different devices and operating systems. If you spot issues (like misaligned buttons or slow-loading images) fix them before launch.
4. On-Page SEO Optimization
Nailing the basics of on-page SEO helps your site rise in search rankings and outperform your competitors. Start with clear, keyword-focused title tags and meta descriptions. They help SEO and boost click-through rates from search results.
Structure your content with proper header tags: use one H1 for the page title, and H2s or H3s for subtopics to keep things organized for both readers and search engines. Add internal links to guide visitors to related pages and spread link authority across your site.
Lastly, keep your URL structure clean and readable. Short, keyword-friendly URLs are easier for search engines to crawl and visitors to remember.
5. Content & Image Optimization
Polish your content to make sure it's clear, error-free, and easy to read. Double-check for typos, grammar issues, and any outdated information that could confuse your audience. Keep your messaging sharp and focused—every word should add value and help visitors understand your offer.
Next, optimize your images. Compress them to reduce file sizes without sacrificing quality. Smaller image files mean faster loading times, which keeps visitors from bouncing and helps your SEO. Use modern formats like WebP for better compression and faster performance.
Make sure every image has a descriptive alt tag to improve accessibility and help search engines understand your content.
6. Website Security & Data Privacy Compliance
Keep your website safe from attacks and protect your users' data by putting strong security measures in place. Set up a firewall to block malicious traffic and run regular malware scans to catch any threats early. Use strong, unique passwords for admin accounts and enable two-factor authentication (2FA) to add an extra layer of protection.
Stay on top of data privacy laws, such as GDPR or CCPA, by clearly explaining how you collect, store, and use customer data. Add a simple, easy-to-understand privacy policy and make sure users can easily manage their cookie preferences.
7. Performance Testing & Page Speed Optimization
A slow website frustrates visitors and can hurt your search rankings. Start by running tests with tools like Google PageSpeed Insights, GTmetrix, or WebPageTest to pinpoint what's causing delays. Common culprits include large images, unoptimized scripts, and slow server responses.
Focus on quick wins first. Enable browser caching, which stores site files locally on visitors' devices so pages load faster on repeat visits. Set expiration dates for cached files to balance speed with fresh content. Use a content delivery network (CDN) to distribute your site's content across servers worldwide. This shortens loading times by serving pages from locations closer to your users.
Next, optimize your site's assets. Compress images using tools like TinyPNG or ImageOptim to reduce file sizes without sacrificing quality. Minify your website's code—strip out unnecessary spaces and characters from HTML, CSS, and JavaScript files to help browsers process pages faster.
Also, defer loading scripts that aren't immediately needed. For example, analytics tools and third-party widgets can load after the main page content, improving the initial speed. If your website runs on a CMS like WordPress, consider using performance plugins such as WP Rocket or LiteSpeed Cache to automate many of these optimizations.
8. Pre-Launch UX Testing & Accessibility Checks
Before you go live, test your site's UX to catch anything that might confuse or frustrate visitors. Walk through the site like a first-time user and check for clunky navigation, broken links, or unclear calls to action. Test every key journey, such as signing up for a newsletter, completing a purchase, or submitting a contact form, to make sure they're simple and smooth.
It's just as important to ensure your site is accessible to everyone, including people with disabilities. Aim to meet WCAG (Web Content Accessibility Guidelines) standards by checking key areas:
- Keyboard navigation: Make sure visitors can browse your site without a mouse.
- Alt text for images: Add clear descriptions so screen readers can interpret visuals.
- Readable text: Use high-contrast colors and legible fonts for easy reading.
- Descriptive links: Avoid vague phrases like "click here"—use labels that explain where the link leads.
Use tools like WAVE, axe, or Lighthouse to catch accessibility issues automatically. Then, have real users test the site, including those with different abilities, to uncover anything the tools might miss.
9. Setting Up Analytics & Tracking Tools
Get your analytics in place before launching so you can track how visitors use your site from day one. You can start with tools like Google Analytics 4 (GA4) to monitor traffic, user behavior, and engagement patterns.
Set up conversion goals that align with your business objectives. Track key actions such as purchases, form submissions, or newsletter sign-ups. Use event tracking to capture interactions like video plays, button clicks, and downloads to understand how users engage with your content.
Add Google Tag Manager (GTM) to manage tracking codes without editing your site's code directly. This allows you to add new analytics tools or marketing pixels easily in the future.
Don't forget to enable Google Search Console to monitor your search performance and catch indexing issues. Link it with Google Analytics for a complete view of how users find and interact with your site.
Our step-by-step guide shares everything your team should know about headless cms architecture and the best practices to set your next website up for success.
Post-Launch Website Launch Checklist
Your job isn't over once the site is live. Now it's time to monitor performance, fix any technical glitches, and fine-tune your SEO. Here's what to focus on:
- **Website functionality and load testing: **Test how your site handles different levels of traffic. Use tools like JMeter by Apache or QA Wolf to simulate real-world usage patterns. Run cross-browser tests to check if everything works smoothly across platforms.
- **Search engine indexing and sitemap submission: **Generate a sitemap and upload it to your site's root directory. Submit it via Google Search Console and check that search engines are indexing your pages properly so new visitors can find your content.
- **Live SEO audit and fixing errors: **Scan for on-page issues such as broken links or missing meta tags. Focus on optimizing SEO during redesigns to maintain and improve your search rankings. Fixing errors early prevents search penalties and protects your visibility.
- **Content and link verification: **Check that all internal and external links are working properly after launch. Broken links frustrate users and hurt your SEO.
- **User engagement and social media promotion: **Promote your website on social media platforms where your audience is active. Customize your messages for each platform and encourage engagement through comments, shares, and discussions.
Bringing It All Together for a Successful Website Launch
Launching a website takes more than hitting "publish." It demands careful planning, thorough testing, and smart promotion. With a detailed website launch checklist, you cover the technical essentials, optimize performance, stay compliant, and create a site that's ready to grow with your business.
But your website's success doesn't stop at launch. If you're looking to boost performance, scale faster, and deliver a seamless user experience, modernizing your content management system can make all the difference. Switching to a headless CMS gives you the flexibility to manage content more efficiently while powering faster, more dynamic websites.
To help you navigate the transition, we've created a headless CMS implementation checklist—a practical, step-by-step guide to make your move to a headless CMS smooth and successful.
Download the checklist and join a community of experts building faster, smarter, and more scalable websites.
Your website is your biggest growth lever—are you getting the most out of it? Schedule a strategy call with Webstacks to uncover conversion roadblocks, explore high-impact improvements, and see how our team can help you accelerate growth.

I lead growth at Webstacks, connecting strategy, design, and engineering to build websites that drive results. I specialize in website strategy, CMS implementation, and helping B2B teams scale their web presence.